
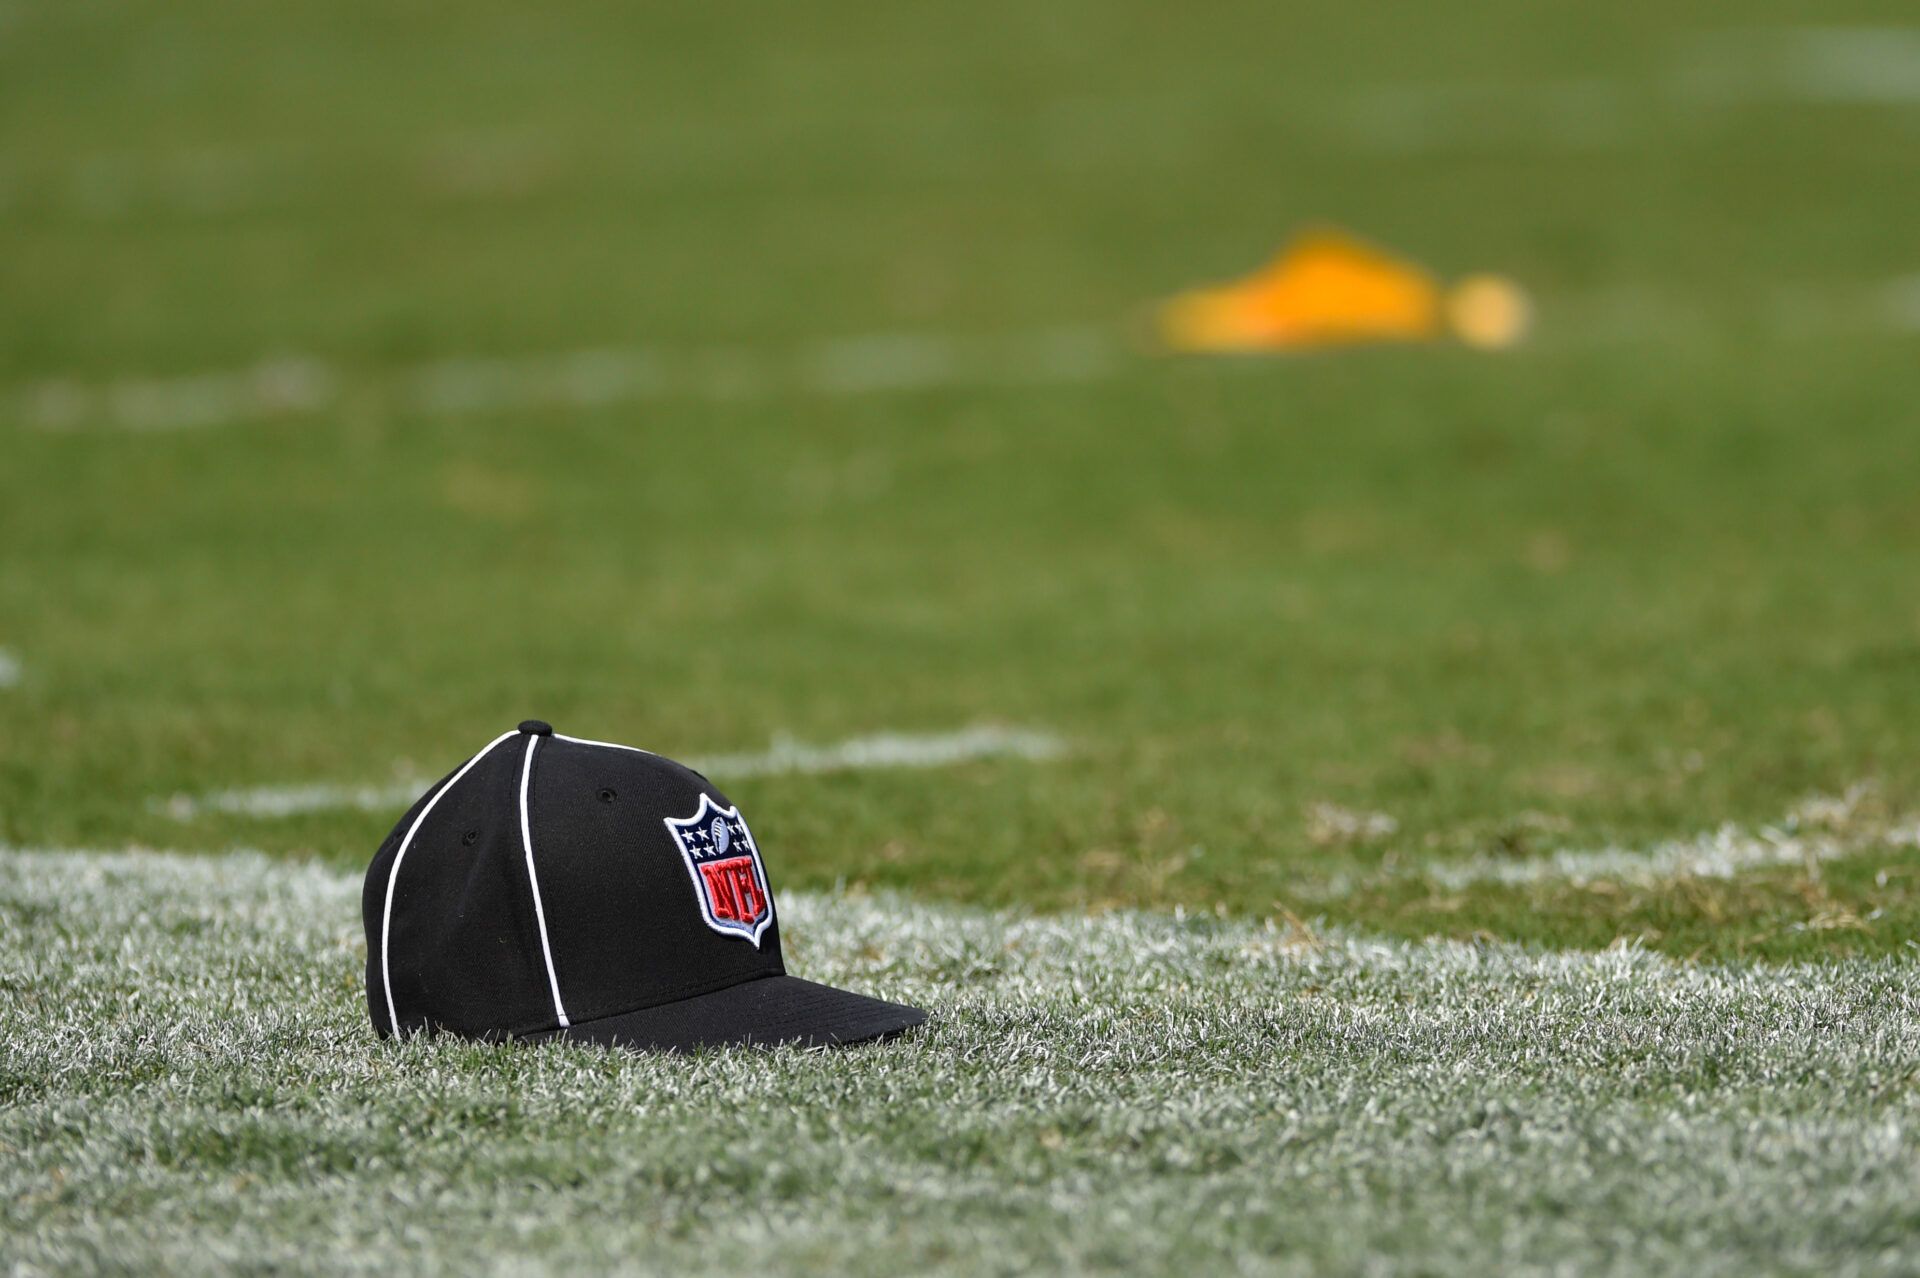
Alright, so the other day I was trying to make myself an NFL ref hat, you know, the ones with the black and white stripes. I’ve always thought they looked pretty cool, and I figured it would be a fun little project to take on. Plus, I had a bunch of scrap fabric lying around, so I thought, why not put it to good use?
Getting Started
First, I gathered all my materials. I found some white and black fabric scraps, a sewing machine, some thread, scissors, and a pattern I drew up on a piece of paper. I’m not a pro sewer or anything, so I kept the pattern pretty simple – just a basic cap shape with a brim.
Sewing It Together
I started by cutting out the fabric pieces according to my pattern. I made sure to cut out alternating stripes of black and white for that classic ref look. Then, I pinned the pieces together, making sure the stripes lined up nicely. Sewing the stripes together was a bit tricky, but I took my time and made sure each seam was straight.
- Cut out fabric pieces.
- Pin stripes together.
- Sew the stripes.
- Attach the brim.
Once the main part of the hat was done, I sewed on the brim. I used a double layer of black fabric for the brim to give it some extra stiffness. I sewed it onto the bottom edge of the hat, and then folded it over and sewed it again to create a nice, clean edge.
The Final Touches
After the brim was on, I tried on the hat to see how it fit. It was a little loose, so I added an elastic band to the inside to make it snugger. And that was it! My very own NFL ref hat.
It’s not perfect, but I’m pretty happy with how it turned out. It was a fun little project, and now I have a unique hat to wear to football games. Maybe I’ll even start officiating some neighborhood games – who knows?
I am not gonna lie. It took a couple of tries to get it right. My first attempt looked more like a sad, droopy chef’s hat than a ref hat, so, I am just very glad it is done!


