
Okay, folks, let’s dive into how I made these custom pink Jordans a reality. It wasn’t super complicated, but it did take some patience and a bit of elbow grease.
The Initial Idea
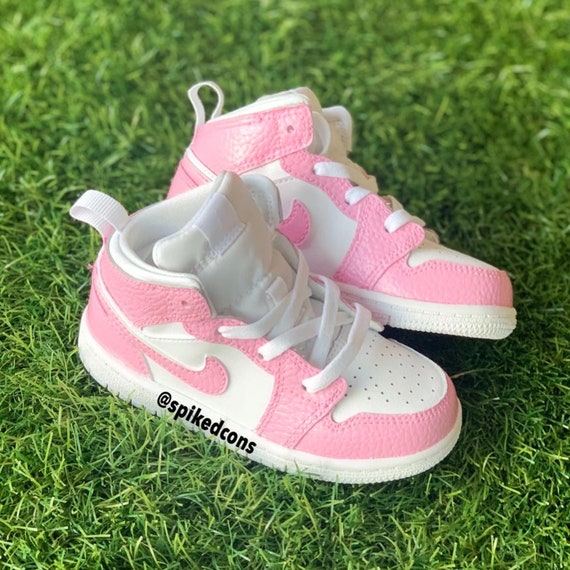
First things first, I needed a pair of Jordans. Obviously. I wasn’t about to mess with a brand new, expensive pair, so I grabbed some older, beat-up white Jordan 1 Mids I had lying around. They were pretty scuffed, but that was perfect – gave them some character and meant I wouldn’t feel too bad if I messed up.
Gathering Supplies
Next up, the fun part – getting all the stuff I needed. Here’s what I ended up using:
- Pink Angelus leather paint. I went with a shade called “Pale Pink” because I wanted a softer, more pastel look.
- Angelus leather preparer and deglazer. This stuff is super important to get the factory finish off the shoes so the paint sticks properly.
- A set of paintbrushes. I got a variety pack with different sizes for the bigger areas and the tiny details.
- Masking tape. Gotta keep those lines crisp!
- Cotton balls and Q-tips. For cleaning up any mistakes.
- Angelus Matte Acrylic Finisher.For protecting my paint.
Prep Work is Key
This is probably the most boring part, but it’s SO important. I started by giving the shoes a good scrub with the preparer and deglazer. I just soaked a cotton ball and rubbed it all over the parts I wanted to paint. This took off the shiny coating and made the leather ready to accept the paint.
After that, I used the masking tape to carefully cover up any areas I didn’t want to paint – the soles, the laces, the Jumpman logo, etc. This took a while, but it was worth it to avoid sloppy edges.
Painting Time!
Finally, the exciting part! I started by applying very thin coats of the pink paint. The key here is patience. Multiple thin coats are WAY better than one thick, gloppy coat. It helps prevent streaks and cracks. I let each coat dry completely before adding another. I think I ended up doing about 4 or 5 coats to get the color nice and even.
For the smaller details, like around the edges and the stitching, I used the smaller brushes. It took a steady hand, but it wasn’t too bad. And if I made any mistakes, I just quickly wiped it off with a damp Q-tip.
Finishing Touches
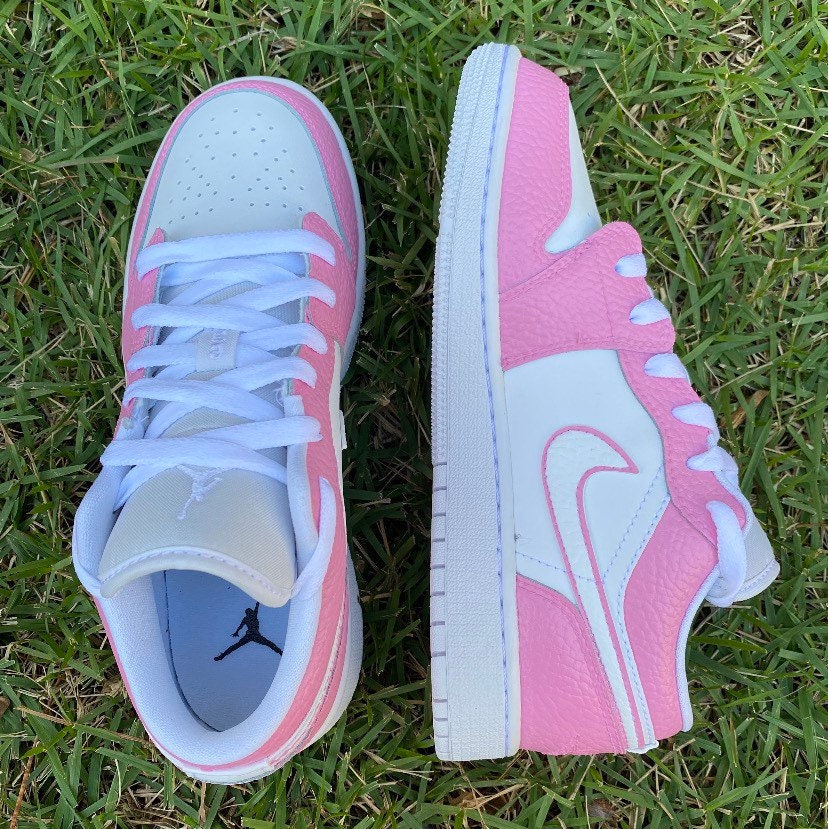
Once I was happy with the paint job, and it was all completely dry, I peeled off the masking tape. This was super satisfying! Then, I applied a thin, even coat of the Angelus matte finisher to protect that fresh paint and done! I gave it a full day to cure before I even thought about wearing them.
And that’s it! My custom pink Jordans were born. It was a fun little project, and I’m pretty stoked with how they turned out. They’re definitely one-of-a-kind now!


