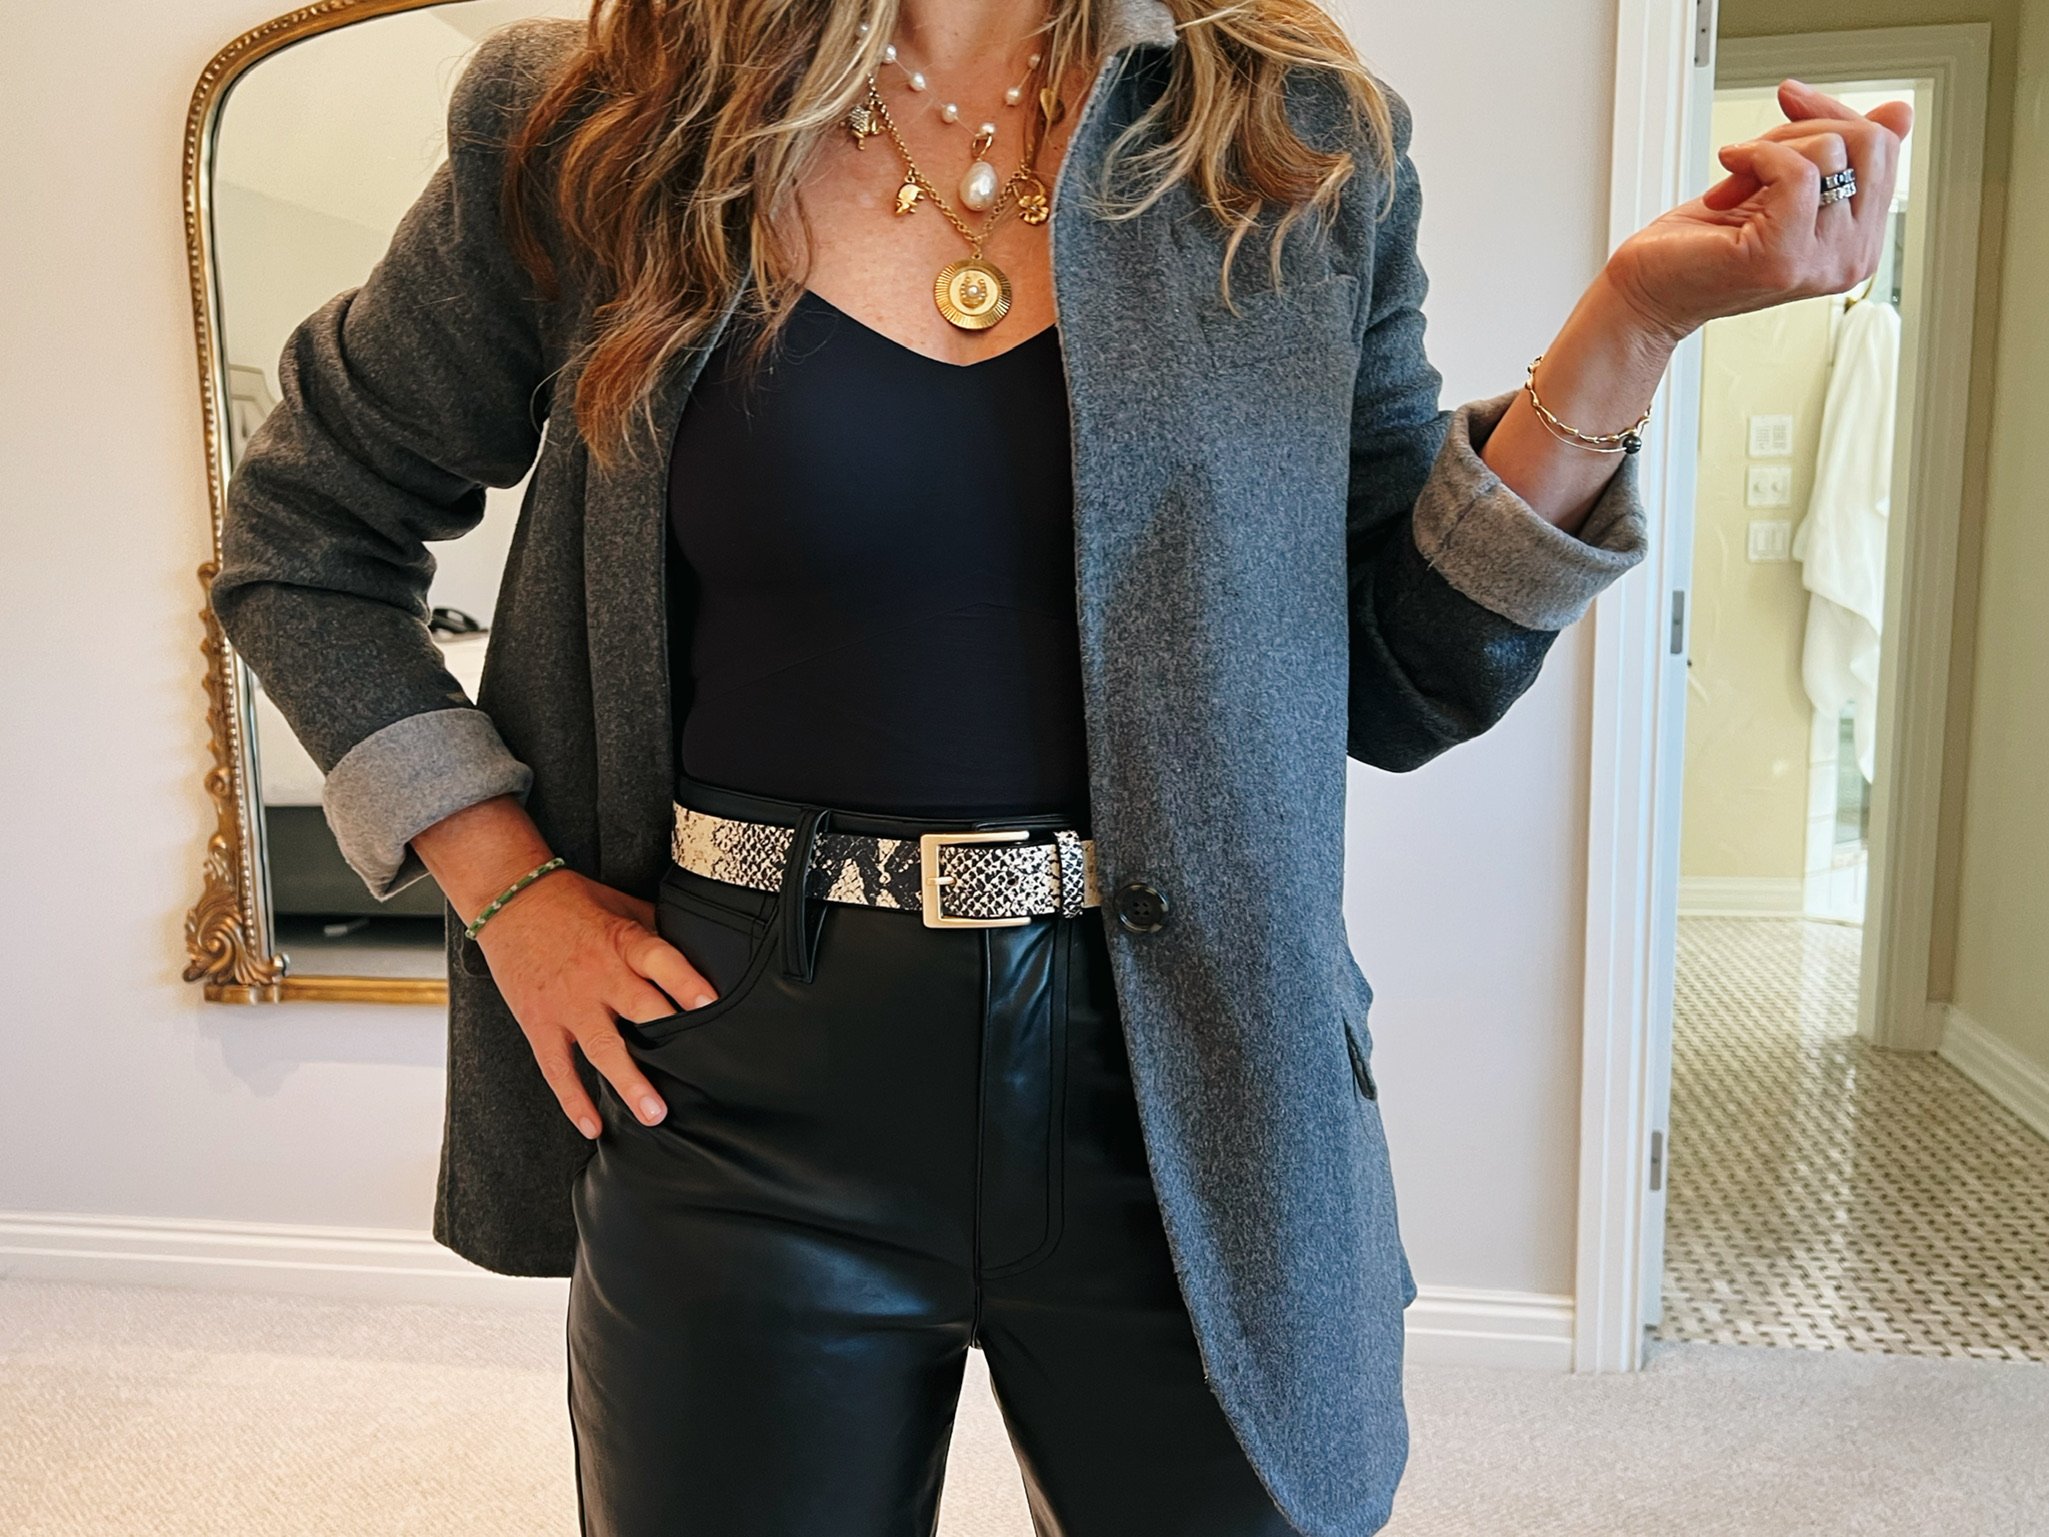
So, I decided to make my own belt the other day. The ones in the stores just weren’t cutting it, felt kinda flimsy, you know? I wanted something solid, something that felt like it would last. I ended up calling this project the “Taylor Belt” – no real deep reason, just liked the sound of it while I was working.

Getting Started
First thing was gathering the bits and pieces. I didn’t want anything too complicated.
- Found a nice, thick leather strap online. Waited a couple of days for that to arrive.
- Picked up a simple, sturdy buckle from a local craft shop. Nothing too shiny.
- Grabbed some rivets, the kind you hammer down.
- Tools? Just the basics: a sharp utility knife, a leather hole punch tool I already had, and a hammer.
Laid everything out on my workbench. Felt good to have it all ready.
The Making Process
Alright, here’s how it went down. I measured an old belt that fit well and added a bit extra length, just in case. Then, I took a deep breath and cut the leather strap. Used a metal ruler to guide the knife. Had to press down pretty hard to get a clean cut through that thick leather.
Next, shaping the end, the tip. I just sort of rounded it off freehand with the knife, then smoothed it a bit with sandpaper. Didn’t need it perfect, wanted that handmade look.
Punching the holes was next. Marked out where the buckle prong hole should go first. Punched that one out. Then, I marked out five adjustment holes on the other end. Tried my best to keep them evenly spaced using a ruler. The punch tool made this part quite easy, actually.

Attaching the buckle was the main event. I folded the leather end over the buckle bar, marked where the rivets needed to go through both layers. Punched those holes. Pushed the rivets through and hammered them flat on the back. Made quite a racket, but it felt secure afterwards.
Almost forgot the belt loop! Cut a small strip from the leftover leather, wrapped it around the belt near the buckle, punched holes through the ends of the loop and the main belt strap behind it, and hammered in another rivet to hold it in place. Simple keeper loop, does the job.
I didn’t have fancy edge finishing tools. So, I just rubbed the cut edges with a slightly damp cloth really hard. It smoothed them down a bit, took off the fuzziness. Good enough for me.
How It Turned Out
And that was pretty much it! The Taylor Belt was done. It looks rugged, feels really strong, and fits perfectly. Took me maybe two hours, taking my time. Way more satisfying than buying one. It’s got character, you know? Every little imperfection tells a story. Definitely going to be wearing this one a lot.


