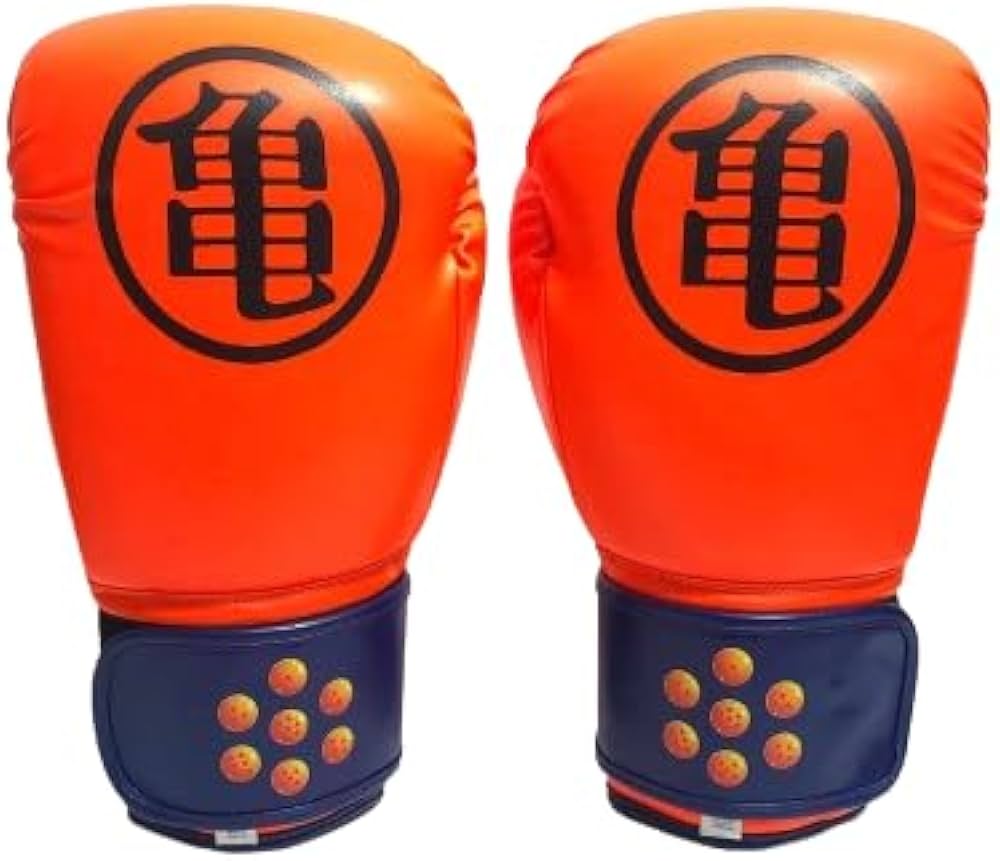
Alright, let’s talk about these dragonball boxing gloves I just finished up. It was a wild ride, but totally worth it.
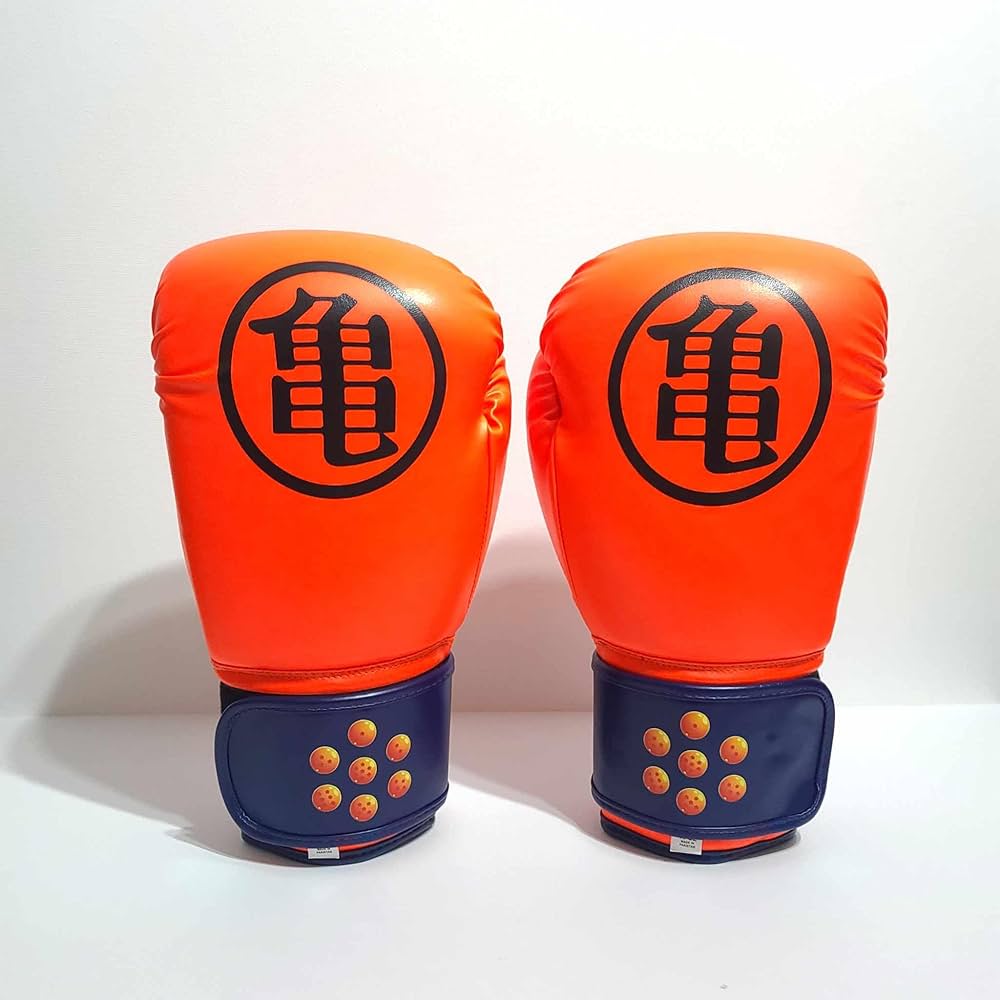
So, first off, I had this old pair of boxing gloves lying around. They were kinda beat up, you know, the leather was cracking a bit, the padding was getting flat. I was about to toss them, but then I had this crazy idea: Dragonball Z! Why not give them a new life, a Kamehameha-powered makeover?
Planning and Prep:
- Research: I started by hitting up Google Images. I needed some good reference pics of the Dragonballs, especially the stars inside.
- Materials: I grabbed some acrylic paints (orange, red, black, white, yellow), paintbrushes of various sizes, some painter’s tape, and a sealant spray to protect the finished design. Oh, and I also bought some leather conditioner to try and revive the gloves a bit.
- Cleaning: I gave the gloves a good wipe down to get rid of any dirt or grime. Then, I used the leather conditioner, hoping it would soak in and make the surface a little smoother for painting.
The Painting Process:
This was the tricky part. I’m no artist, but I figured I could handle some circles and stars, right?
- Base Coat: I painted the entire glove orange. It took like, three coats to get a solid, even color. Acrylic paint can be a pain sometimes.
- Circles: I used a compass to lightly sketch the circles where the Dragonballs would go. I wanted them to be evenly spaced.
- Dragonball Details: This is where the real fun began. I carefully painted the stars inside each circle. Some were one-star, some were four-star, you know the drill. I used super tiny brushes for this. My hand was cramping like crazy!
- Outlines: I used black paint to outline the circles, making them pop a bit more. This also helped to cover up any wobbly lines from my not-so-perfect circles.
Adding the “Ki” Effect:
I didn’t just want plain Dragonballs. I wanted them to look like they were glowing with Ki energy!
- Yellow Aura: I used a light yellow paint and a sponge to dab around the Dragonballs, creating a soft, glowing effect.
- White Highlights: I added small white highlights to the edges of the aura to make it look even brighter.
Sealing and Finishing:
After the paint was completely dry (I waited like, a full day), I sprayed the gloves with a sealant. This is crucial! It protects the paint from chipping and fading.
The Result:
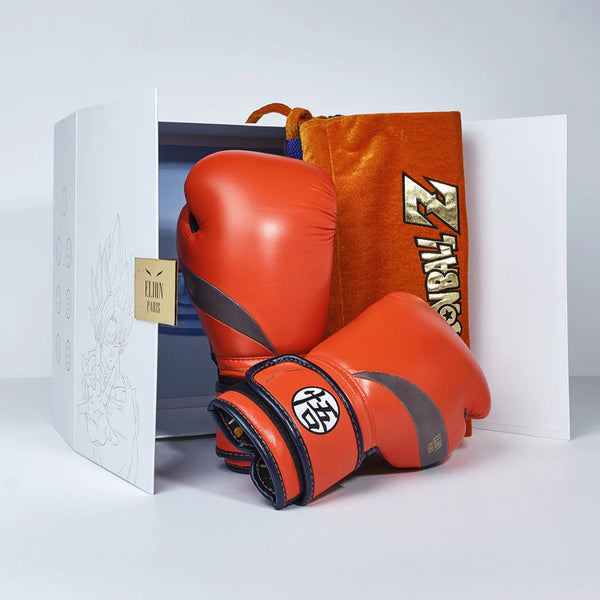
Honestly? They look pretty damn awesome. They’re not perfect, you can definitely see my amateur paint job up close, but from a distance, they scream “Dragonball Z!” I can’t wait to hit the heavy bag with these bad boys. I might even yell “Kamehameha!” while I’m at it. Don’t judge me.
Lessons Learned:
- Prep is key: Taking the time to clean and condition the gloves made a big difference.
- Thin Coats: Multiple thin coats of paint are better than one thick coat. Less likely to crack.
- Patience: This project took way longer than I expected. Rushing it would have ruined it.
- Sealant is a must: Don’t skip this step!
I’m already thinking about my next project. Maybe some Vegeta-themed shin guards? Stay tuned!


